Though there are two different types of Pullip bodies, the head surgery
process is the same for dolls of both types. As such, I used the doll
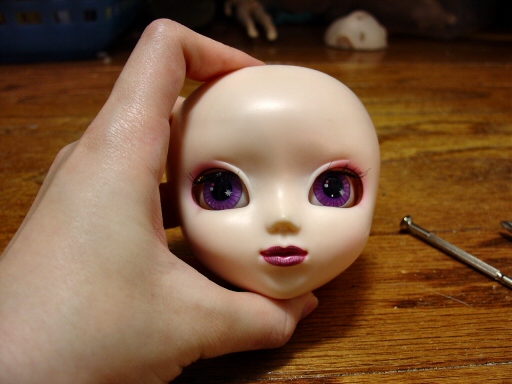
I had handy--Bouquet--to demonstrate the process.
Materials:
- small Philip's head screwdriver
- small flat head screwdriver
- long, thin object (i.e. tiny flat head screwdriver, crochet hook, etc.)
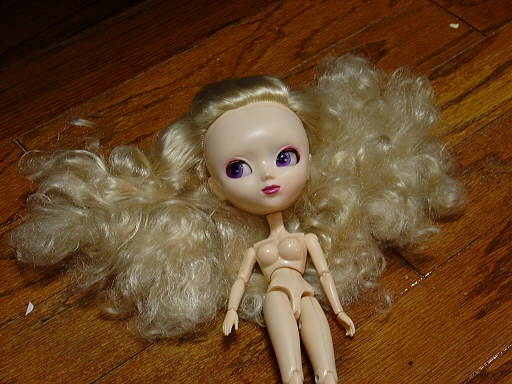
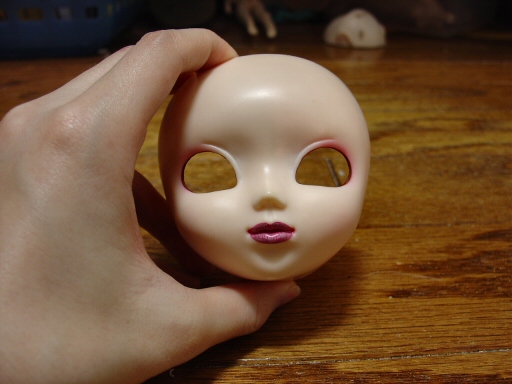
The patient is ready to begin.
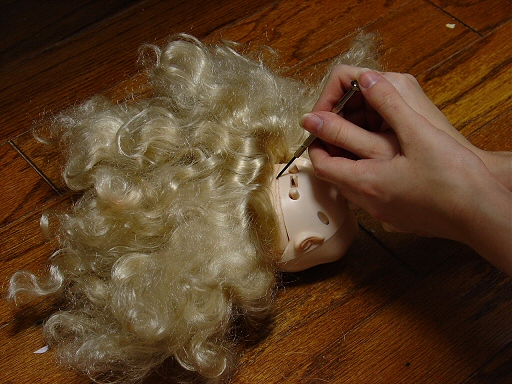
Turn the head over and take your flat head screwdriver. Lift up the doll's
hair and find the gap where the scalp and the head meet, then insert the
screwdriver into the gap and begin prying upwards, going around the edge
of the scalp. Don't worry if the plastic on the head bends slightly--the
hair will cover it up, and sandpaper will easily smooth out the surface.
Be very careful when prying near the forehead, as any marks you make will
be visible after reassembly. After some prying, you should be able to
at least partially separate the scalp from the head with a loud crack
(the sound of the glue separating). Be patient; it may take a while!
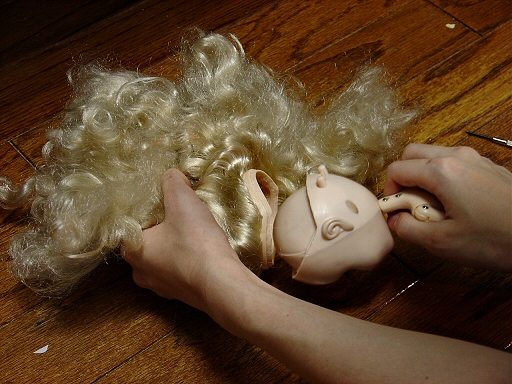
Once you have loosened at least part of the scalp, take the doll by the
hair and pull the scalp off. Set it aside for now.
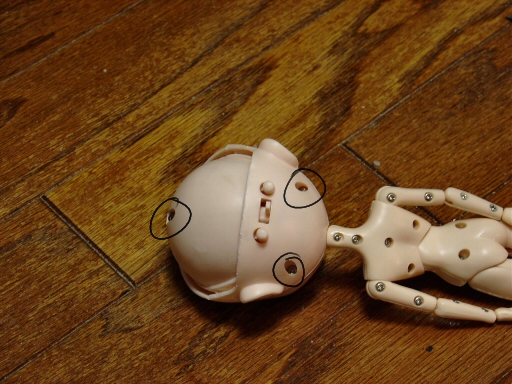
You will see three holes in the back of the head with screws in them.
These need to be taken out, obviously. Take your Philip's head screwdriver
and remove the screws, putting them in a safe place. Remove the back of
the head and set it and the body aside.
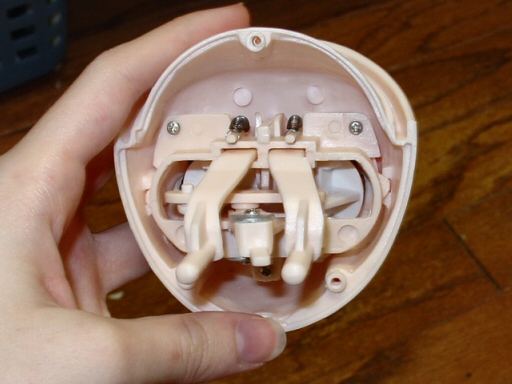
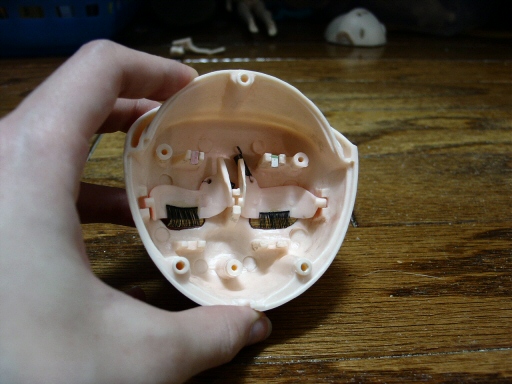
The inside of a Pullip head. The eye mechanism is composed of just a few
parts--the protruding switch shifts the eyes, the two buttons close the
lids, the springs hold the eyelids open, and the rest holds the eyes in
place.
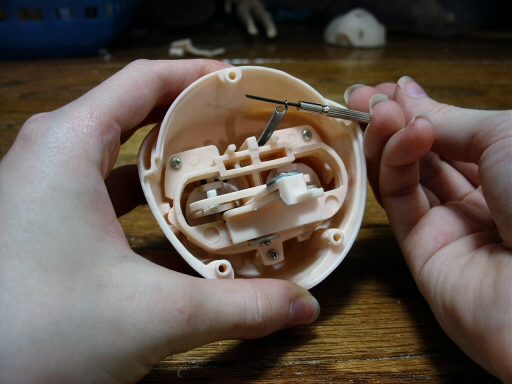
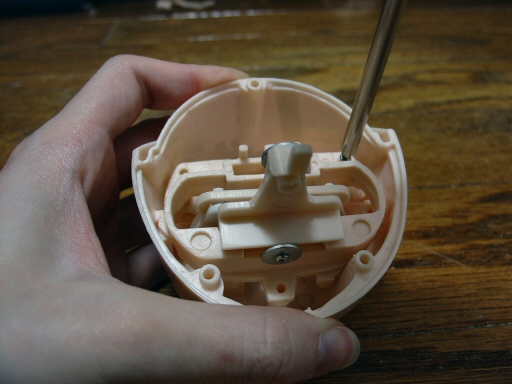
Take the long, thin object that you selected and pry up the springs from
the hooks they rest on, releasing them. [M: I always use a size 10 crochet
hook.]
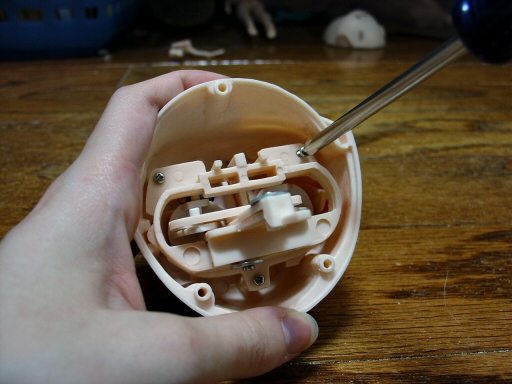
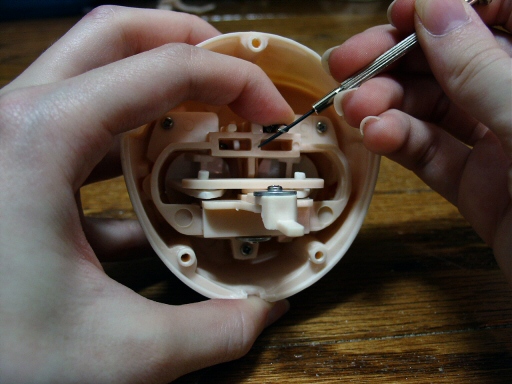
Now, don your trusty Philip's head screwdriver again. Remove the three
screws that hold the eye mechanism in place, setting them and the mechanism
itself aside.
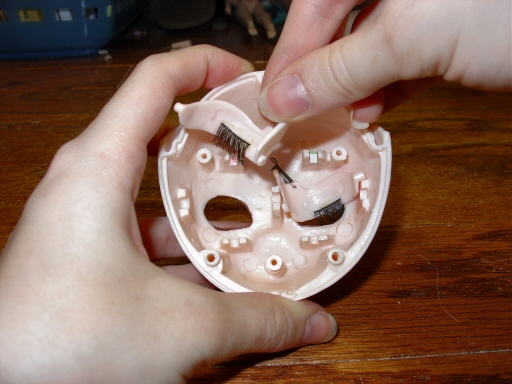
Remove the eyelids from the grooves they are set into, putting them aside.
SUCCESS! Your Pullip's face is now ready to be worked on. Once
you're finished, reassembly is similarly straightforward...
Take the eyelids you set aside and place them back into the grooves, making
sure they rest flat on both sides. Be sure the eyelashes are all outside
of the head, as well, or you may end up with bent lashes afterwards. I
use my long, thin object to push stray lashes through the eyeholes.
Take the eye mechanism and turn it so the eyes are facing downwards, adjusting
them so they both look straight ahead. Tilt the face at the same angle
and carefully lower the mechanism into the face, making sure to keep the
eyes straight. The top bars coming from the eyes must fit into the grooves
above the eyelids, and the screw holes must line up properly. Once you
have set it in, screw the mechanism back into place.
Turn the face upside-down briefly so the springs drop into view. Using
your long, thin object, pick up the springs and reattach them to the hooks,
using your fingers to guide them properly. [M: I definitely can't do this
without a crochet hook.]
Place the two buttons back into their slots.
Finished! Now, just place the neck knob into the head, screw the back
half of the head back on, and click the scalp back into place. Girls with
heavy hair (i.e. Nomado) may need to have their scalps glued back. Apply
the glue (I recommend water-soluble glue, in case you need to open the
head again) to the groove in the head and place the scalp back on, holding
it fast with a rubber band overnight. |